
2-Bolt Vs 3-Bolt Exhaust Flanges: A Fitment Guide
Two exhaust flanges can fit the same pipe size but still fail to connect. A 2-bolt flange uses two opposing fasteners. A 3 bolt exhaust flange typically has three mounting points around the pipe opening. Bolt count alone cannot guarantee a proper fit. Bolt-hole spacing, pipe diameter, flange thickness, sealing surfaces, and gasket design must also match. Choosing the wrong flange can cause alignment problems, exhaust leaks, and costly rework. Accurate measurements help prevent these issues. This guide compares both flange designs and explains their key fitment requirements. In this article, you'll learn how to measure existing flanges, identify incompatible connections, and choose a suitable replacement.

Can a 2-Bolt Exhaust Flange Replace a 3-Bolt Flange?
A 2-bolt exhaust flange cannot directly replace a 3-bolt design in most installations. Their mounting patterns differ, even when both accommodate the same pipe diameter. Successful replacement requires compatible connections on both sides of the joint. However, some exhaust modifications allow different flange configurations. The deciding factor is whether the complete connection can be adapted safely.
When the Two Flange Designs Are Not Interchangeable
A 2-bolt flange normally uses opposing mounting holes. A 3-bolt flange has three fastening positions around its central opening. These arrangements require different mating patterns and gasket designs.
Consider an exhaust pipe connected through a triangular three-bolt joint. A replacement flange has the correct pipe opening but only two mounting holes. The holes cannot align with the existing connection.
The same problem occurs when two three-bolt flanges have different hole spacing. Even matching bolt counts cannot guarantee compatibility. Their mounting patterns, sealing surfaces, and overall dimensions must agree.
The main differences include:
Mounting pattern: Two-hole and three-hole arrangements require corresponding mating connections.
Clamping distribution: Fastener positions influence how loads reach the sealing surfaces.
Gasket alignment: Bolt holes and sealing areas must match the joint geometry.
Flange profile: Different outer shapes can affect available clearance and installation.
Drilling additional holes rarely provides a reliable shortcut. New holes may weaken the flange or interfere with its sealing area. Poor positioning can also prevent proper gasket compression.
When Replacing or Adapting the Connection Is Possible
Changing flange configurations becomes practical when both sides can be modified. This often applies to custom exhaust fabrication or replacement pipe assemblies.
For example, a fabricator may replace an existing two-bolt connection with a three-bolt arrangement. Both mating components must then receive compatible mounting and sealing features. A properly designed adapter may offer another solution. However, it must provide correct alignment, sealing surfaces, and installation clearance.
Before modifying the connection, verify these conditions:
Both pipe openings align without excessive force.
The adapter or replacement fits the available space.
The gasket matches each required sealing interface.
The completed joint supports the expected exhaust movement and operating conditions.
For routine repairs, retaining the original flange pattern usually simplifies replacement. It reduces unnecessary fabrication and helps preserve the intended connection geometry.
How to Measure a 2-Bolt or 3-Bolt Exhaust Flange for Correct Fitment
Accurate measurements provide the strongest basis for replacement selection. Visual comparisons alone cannot reveal small differences in mounting geometry. Start by cleaning the existing flange and identifying its mounting holes. Use calipers where possible, especially when checking bore dimensions and hole spacing.
Measure Bolt-Hole Spacing and Mounting Pattern
For a 2-bolt flange, measure the distance between both hole centers. This center-to-center measurement determines the required mounting spacing. A 3 bolt exhaust flange requires additional attention. Some designs use equally spaced holes around a bolt circle. Others have irregular triangular patterns.
Measure all three center-to-center distances before ordering a replacement. For equally spaced three-hole patterns, manufacturers may specify bolt circle diameter (BCD). This describes the circle passing through the mounting-hole centers.
A verified engineering drawing can simplify this measurement process.
Also record:
Bolt-hole diameter
Required bolt or stud size
Hole orientation relative to the pipe
Overall flange width and shape
Available clearance around the fasteners
Small differences matter during installation. Oversized or elongated holes should not automatically compensate for incorrect mounting dimensions.
Verify Pipe Diameter, Flange Opening, and Thickness
The exhaust pipe outside diameter (OD) and flange inside diameter (ID) serve different purposes. A slip-fit connection requires an opening sized for the pipe to enter. A butt-weld connection uses a different joining arrangement.
Do not assume a nominal pipe size identifies the flange opening accurately. Actual dimensions and connection style determine the required fit. Flange thickness also deserves attention. It influences rigidity, fastener engagement, and the joint's installed dimensions.
A thicker replacement may interfere with existing bolts or nearby components. A thinner replacement may lack sufficient rigidity under the intended loading conditions.
Use the following checklist when inspecting a replacement flange.
Measurement | 2-Bolt Flange | 3-Bolt Flange |
Mounting pattern | Two holes | Three holes |
Hole spacing | Center-to-center distance | Three center distances or verified BCD |
Hole diameter | Measure both holes | Measure all three holes |
Pipe fit | Confirm pipe OD and flange ID | Confirm pipe OD and flange ID |
Flange thickness | Measure plate thickness | Measure plate thickness |
Sealing face | Check shape and condition | Check shape and condition |
Gasket | Match bore and sealing design | Match bore and sealing design |
Keep the original flange available during selection whenever possible. A physical sample can reveal details missing from product photographs.
How Flange Thickness and Sealing-Face Design Affect Exhaust Fitment
Correct mounting dimensions do not guarantee a sealed joint. Flange thickness and contact geometry determine how the mating surfaces behave during assembly. These details become especially important near high-temperature exhaust components.
Flat, Raised, and Spherical Sealing Surfaces
Flat exhaust flanges generally rely on matching contact faces and suitable gaskets. Their surfaces must allow the gasket to compress evenly. Some designs feature raised or recessed sealing areas. These require gaskets shaped for the corresponding contact geometry.
Other exhaust joints use spherical or ball-and-socket connections. Their curved surfaces can accommodate limited angular movement when properly designed. A flat gasket cannot automatically replace a spherical sealing ring. They serve different contact arrangements.
Before selecting a flange, inspect both mating surfaces for:
Corrosion or deep pitting
Distorted sealing areas
Damaged raised edges
Cracks near mounting holes
Remaining gasket material
These defects can prevent proper sealing even when mounting dimensions match.
Why Flange Thickness and Flatness Matter After Installation
Exhaust flanges experience heating, cooling, vibration, and fastener loading. Their design must maintain suitable contact pressure throughout normal operation. A thin or poorly supported flange may distort during welding. This distortion can leave gaps between the mating surfaces. Tightening the bolts may temporarily reduce visible gaps. However, uneven pressure can still damage the gasket or cause leakage.
Excessive thickness creates different problems. It may reduce available fastener engagement or change the installed joint spacing. Thickness should therefore match the connection requirements rather than follow a simple thicker-is-better rule.
Check flange flatness before assembly. A suitable straightedge and feeler gauges can help identify visible distortion. If the sealing face exceeds the applicable flatness tolerance, repair or replace it. Avoid relying on additional gasket thickness to hide significant deformation.
How to Choose the Right Gasket for a 2-Bolt or 3-Bolt Exhaust Flange
A gasket seals small surface irregularities between compatible mating components. It cannot reliably correct major dimensional errors or incompatible flange designs. Selecting the correct gasket requires the same care as selecting the flange.
Match Gasket Openings, Bolt Holes, and Sealing Geometry
A 3 bolt exhaust flange needs a gasket matching its actual mounting pattern. Three gasket holes alone do not guarantee correct alignment. Check the spacing, central opening, outer profile, and contact area.
A gasket opening that is too small can obstruct the exhaust passage. An unsuitable outer profile may leave insufficient material across the sealing surface. Some joints use flat gaskets between flat mating faces. Others need shaped sealing rings or application-specific gasket structures. The replacement must follow the intended joint design.
Confirm these details before installation:
Gasket bore diameter
Mounting-hole quantity and spacing
Overall gasket dimensions
Contact-face geometry
Required gasket thickness
Place the gasket against the cleaned flange before final assembly. Its openings should align without stretching, cutting, or forcing the material.
Select Gasket Construction for the Joint Conditions
Exhaust gaskets use different materials and constructions depending on their applications. Graphite-based composites can provide conformability across suitable mating surfaces. Metal-layered designs may be specified for joints requiring particular compression and temperature characteristics.
However, materials are not universally interchangeable. Operating temperature, joint design, surface finish, and clamping requirements influence the correct choice. Gasket thickness also affects compression behavior. Increasing thickness does not automatically improve sealing performance.
A damaged gasket should generally be replaced during joint reassembly. Follow the applicable component specifications when checking gasket reuse or replacement.
Common Fitment Mistakes That Cause Exhaust Flange Leaks
Many exhaust flange problems begin before installation. Incorrect specifications often lead buyers toward parts that look compatible but cannot seal properly. Other problems result from improper assembly or damaged mating components.
Choosing a Replacement by Bolt Count or Pipe Size Alone
Buyers sometimes identify a flange using only its pipe diameter and bolt count. For example, two three-bolt flanges may share the same nominal bore size. Their bolt spacing, thickness, and sealing profiles may still differ. Installing the wrong component can cause several problems. The bolts may not enter the mounting holes correctly. The gasket may sit outside its intended contact area. The exhaust pipes may also become misaligned.
These problems are particularly relevant when ordering replacement components without reliable part references. Product photographs provide useful visual guidance. However, they cannot replace dimensional verification. Request complete measurements or technical drawings when the available specifications remain unclear.
Forcing Misaligned Flanges or Reusing Damaged Sealing Parts
Incorrect installation can also compromise a properly selected flange. One common mistake involves tightening bolts to pull misaligned exhaust sections together. This places unwanted stress on the joint and connected pipes. Another involves reusing a damaged gasket. Its compressed or deteriorated sealing area may no longer provide reliable contact.
Other installation mistakes include:
Uneven fastener tightening
Incorrect gasket positioning
Damaged bolts or threaded holes
Insufficient thread engagement
Failure to clean mating surfaces
Ignoring flange distortion
Uneven tightening can concentrate pressure around individual fastening points. A suitable tightening sequence helps distribute compression across the joint. Use the specified fastener procedure and torque values for the actual assembly. There is no universal torque setting for every exhaust flange.
After installation, inspect the connection for warning signs. These may include ticking noises, visible soot, or escaping exhaust gases. Recurring leakage usually indicates an unresolved sealing or alignment problem. Do not repeatedly tighten the bolts without identifying the cause. Correcting the underlying fitment issue provides a more reliable repair.
How to Confirm Exhaust Flange Compatibility Before Ordering
The final selection should combine dimensional checks and installation requirements. This approach works for routine replacement and custom exhaust manufacturing. It also helps purchasing teams avoid ordering components based on incomplete descriptions.
Match the Existing Joint to the Replacement Specifications
Begin by documenting the original connection before removing its components. Record the measurements and identify any special sealing features.
Use this verification sequence:
1. Identify the mounting pattern. Confirm whether the joint uses two or three bolts.
2. Measure bolt-hole spacing. Record individual distances or the verified bolt circle.
3. Check pipe dimensions. Measure the pipe OD and flange opening ID.
4. Confirm flange thickness. Verify the required thickness and installation clearance.
5. Inspect sealing surfaces. Identify flat, raised, recessed, or spherical profiles.
6. Verify the gasket. Match its bore, contact area, and mounting arrangement.
7. Check the connection alignment. Confirm that both components meet without excessive force.
When these details match, the replacement has a stronger basis for correct fitment. A flange may still require additional application-specific checks. These include material compatibility, operating temperature, and available installation space. For direct replacements, prioritize dimensional agreement with the original joint. For modified exhaust systems, verify the complete revised connection.
Confirm Nonstandard Flanges and Replacement Requirements
Custom exhaust systems may use flange dimensions unavailable in standard replacement ranges. Older equipment can present similar sourcing problems. In these situations, drawings or physical samples become valuable. They allow manufacturers to identify the exact mounting pattern, bore size, thickness, and sealing features.
Before placing an order, use the following table to evaluate compatibility.
Fitment Condition | Recommended Action |
Bolt pattern and spacing match | Check the remaining dimensions |
Bolt count matches, but spacing differs | Reject direct replacement |
Pipe diameter matches, but flange opening differs | Verify the required pipe connection |
Sealing-face profiles differ | Select a compatible joint design |
Gasket dimensions do not match | Obtain the correct gasket |
All dimensions and sealing requirements match | Proceed using approved installation specifications |
Existing connection uses another bolt pattern | Evaluate a matching replacement or engineered adapter |
A complete measurement record improves communication between buyers and suppliers. It also reduces uncertainty during sample approval and repeat purchasing. For nonstandard parts, confirm the approved drawing before production. This helps prevent small dimensional differences from becoming assembly problems.
Conclusion
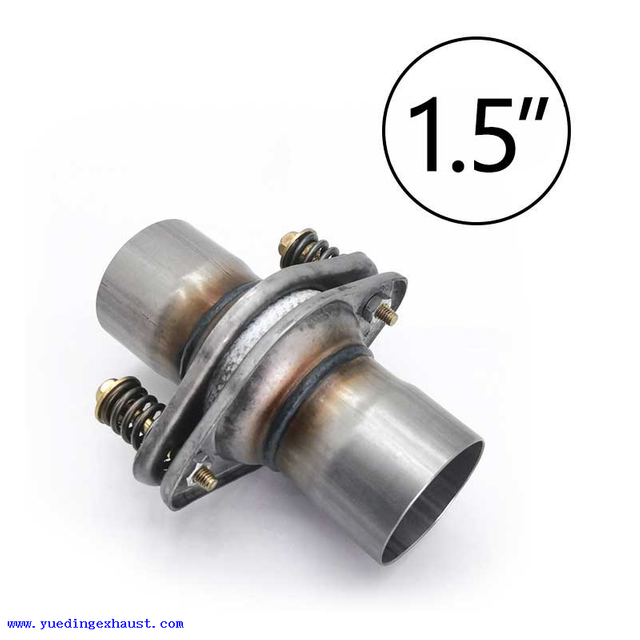
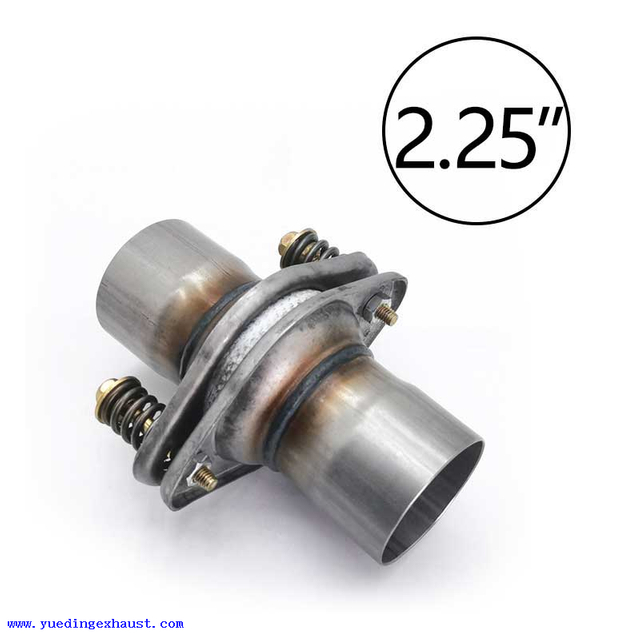
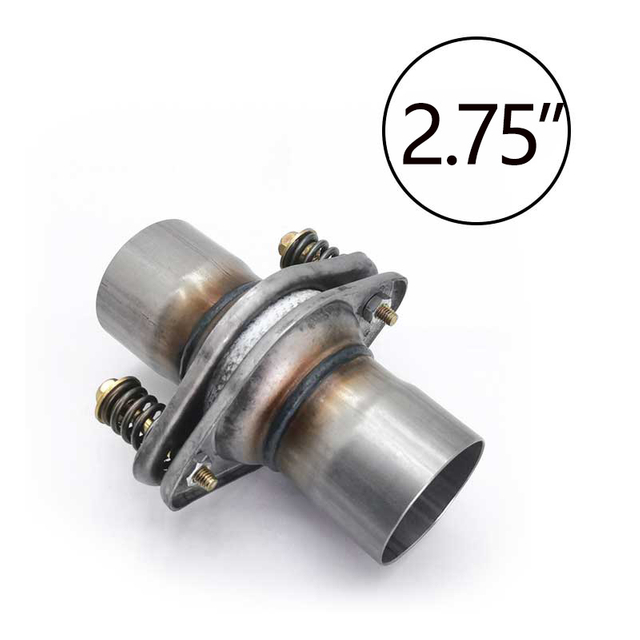
A 2-bolt and a 3-bolt exhaust flange are not automatically interchangeable, even when their pipe diameters match. Correct fitment depends on bolt-hole spacing, flange thickness, sealing surfaces, and gasket compatibility. Direct replacements must match the existing connection. Different mounting patterns may require adapters or modifications to the mating flange. Before ordering, measure the original assembly and inspect both sealing surfaces. For nonstandard connections, confirm dimensions through detailed drawings or physical samples. Zhejiang Yueding Corrugated Tube Co., Ltd. offers exhaust flanges and gaskets for various connection requirements. Our products support reliable sealing and secure connections when properly matched. We help customers identify suitable configurations for their exhaust systems.
FAQ
Q: Can a 3 bolt exhaust flange replace a 2-bolt exhaust flange?
A: A 3 bolt exhaust flange cannot directly replace a 2-bolt design because their mounting patterns differ. Conversion requires compatible mating flanges or a properly engineered adapter.
Q: How do you measure a 3 bolt exhaust flange for replacement?
A: Measure the bolt-hole spacing, pipe diameter, flange thickness, and sealing surface. A replacement 3 bolt exhaust flange must match these dimensions and the existing gasket design.
Q: Is a 3 bolt exhaust flange better than a 2-bolt flange?
A: A 3 bolt exhaust flange can distribute clamping force across three mounting points. However, sealing performance depends on flange geometry, gasket compatibility, and proper installation.
Q: Why does a 3 bolt exhaust flange leak after installation?
A: A 3 bolt exhaust flange may leak because of uneven tightening, damaged gaskets, warped sealing surfaces, or incorrect bolt spacing. Check alignment and sealing surfaces before retightening.
Q: Are 2-bolt and 3-bolt exhaust flange gaskets interchangeable?
A: No. Exhaust flange gaskets must match the mounting pattern, central opening, and sealing-face geometry. Even gaskets designed for the same pipe diameter may have different dimensions.
Q: Does replacing a 2-bolt flange cost less than replacing a 3-bolt flange?
A: Replacement costs depend on flange material, dimensions, and installation requirements. A direct-fit exhaust flange generally avoids the additional fabrication costs associated with changing mounting patterns.




About Yueding
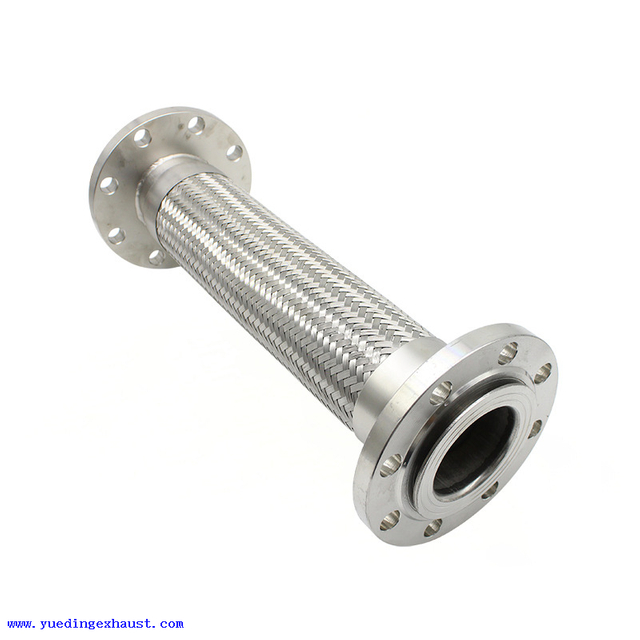
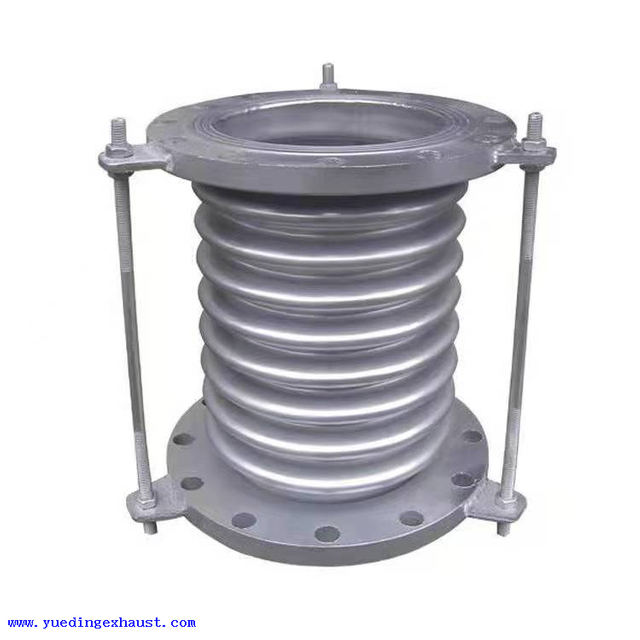
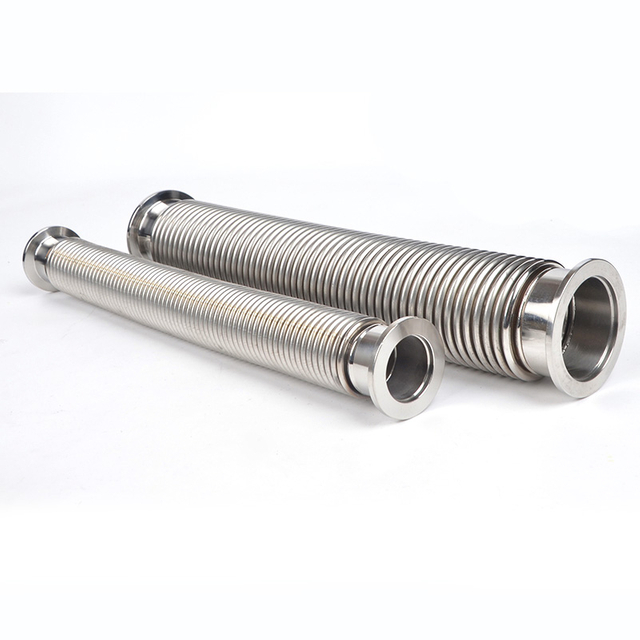
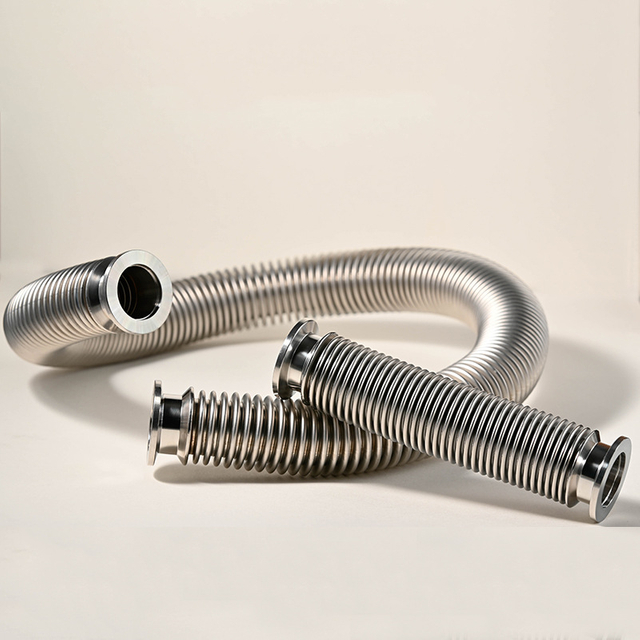
YUEDING manufactures stainless steel exhaust flexible connectors, clamps, metal bellows, and selected automotive exhaust components under ISO and IATF quality systems. With in-house production, inspection, and packaging capabilities, we support bulk orders, standard-size inventory, and customized branding for global B2B customers.
Reliable Delivery
Stable production planning, standard-size inventory, and batch shipping support help make delivery more predictable.

Factory Direct
Production, inspection, and packaging are managed in-house, making communication, quality control, and customization more efficient.

Integrated Supply
We supply flex pipes, clamps, metal bellows, and selected exhaust components to support related purchasing needs from one manufacturer.

