How to Clamp Exhaust Pipes Together?
Is your car suffering from annoying rattles or dangerous gas leaks? Properly securing your exhaust pipes is critical for vehicle safety and performance. In this guide, you will learn how to use various Exhaust Clamps to ensure a long-lasting, leak-free system.
Key Takeaways
● Safety and Performance: Effectively securing exhaust pipes is essential for maintaining vehicle performance and preventing dangerous gas leaks.
● Preparation is Vital: Successful clamping requires proper tools, like socket wrenches and screwdrivers, alongside safety gear like thick gloves and jack stands.
● Clean Surfaces for Sealing: Using a wire brush or sandpaper to remove rust and debris from exhaust pipes is a non-negotiable step for a snug, leak-proof fit.
● Precision Alignment: Pipes must be perfectly aligned and flush against each other to avoid structural failure or future exhaust leaks.
● Clamp Selection: Choosing the right hardware—such as cost-effective U-bolts, versatile band sleeves, or high-performance V-band clamps—depends on your specific system requirements.
● Sealant Benefits: Applying an even layer of exhaust sealant provides an extra barrier against leaks and ensures a stronger bond at the joint.
● No-Weld Solutions: You can successfully replace mufflers and other components using only clamps, making exhaust maintenance accessible without welding equipment.

Essential Preparation for Clamping Exhaust Pipes
Before diving into the mechanical work, setting the stage is vital for a successful, professional-grade result. Proper preparation prevents frustration and ensures you have everything needed to complete the job safely and efficiently.
Assembling the Necessary Tool Kit
To secure exhaust pipes without welding, you will need a specific set of tools. This typically includes a socket wrench set, various screwdriver types, and specific clamps suited for your exhaust pipe diameter.
● Socket Wrench Set: Used for tightening bolts on U-bolt and band clamps.
● Screwdriver Set: Helpful for adjusting smaller hardware or prying old components.
● Clamps: You must select the right type (U-bolt, sleeve, or V-band) for your specific exhaust pipe.
● Wire Brush: Essential for cleaning the connection points.
Safety Gear and Vehicle Stabilization
Working under a car requires non-negotiable safety measures. Since you will likely work underneath the vehicle, it must be firmly supported to prevent accidents.
● Jack Stands: Always use these to stabilize the vehicle; never rely solely on a floor jack.
● Thick Gloves: Protect your hands from sharp exhaust pipe edges and debris.
● Safety Glasses: Essential to keep falling rust and metal shavings out of your eyes.
Creating an Optimal Workspace
A well-lit and spacious area makes the job less stressful. Good lighting helps you see exactly what you are doing, which significantly reduces the risk of alignment mistakes when joining exhaust pipes. Double-check your tool inventory before starting, as missing a tool halfway through can be time-consuming.
Note: Ensure the engine and exhaust pipes are completely cool to the touch before beginning any work to avoid severe burns.
Step-by-Step Guide to Joining Exhaust Pipes Together
This section covers the core methodology for achieving a seamless, airtight connection between two sections of exhaust pipes. Following a logical flow ensures the seal remains intact even under high-vibration driving conditions.
Cleaning the Pipe Surfaces for Adhesion
Cleaning the exhaust pipes is essential for a snug fit. Use a wire brush or sandpaper to strip away any rust, dirt, or debris from the pipe ends. A clean surface ensures a stronger bond and extends the life of your entire exhaust system.
Precision Alignment and Flush Fitting
Aligning the exhaust pipes correctly is just as important as the clamping itself. You must ensure they are straight and flush against each other for a secure clamp. Check the fit several times; small adjustments in alignment can make a massive difference in preventing structural failure or leaks. Take your time here, as rushing often leads to poor alignment.
Applying Exhaust Pipe Sealant
Applying sealant is a critical step for preventing future leaks. Start by thoroughly cleaning the application area to ensure good adhesion. Apply the sealant evenly around the circumference of the exhaust pipe. Always follow the manufacturer's instructions regarding the amount needed and allow it to set for the specified time before connecting or clamping the pipes. This creates a strong, leak-proof bond.
Testing the Final Connection
After installation, it is important to test the system. Start the engine and listen for any unusual noises. You should also check for physical exhaust leaks by feeling for escaping gases around the new joint (carefully, to avoid heat). This verifies the integrity of the exhaust pipe joint before you return the vehicle to the road.
Step | Action | Tool/Material Required |
1 | Surface Prep | Wire Brush / Sandpaper |
2 | Alignment | Manual Adjustment |
3 | Sealant | High-Temp Exhaust Sealant |
4 | Secure | Appropriate Clamp |
5 | Validation | Engine Start/Idle Test |
Tip: Apply sealant to both the inner and outer diameters of overlapping exhaust pipe joints to maximize the "leak-proof" barrier.
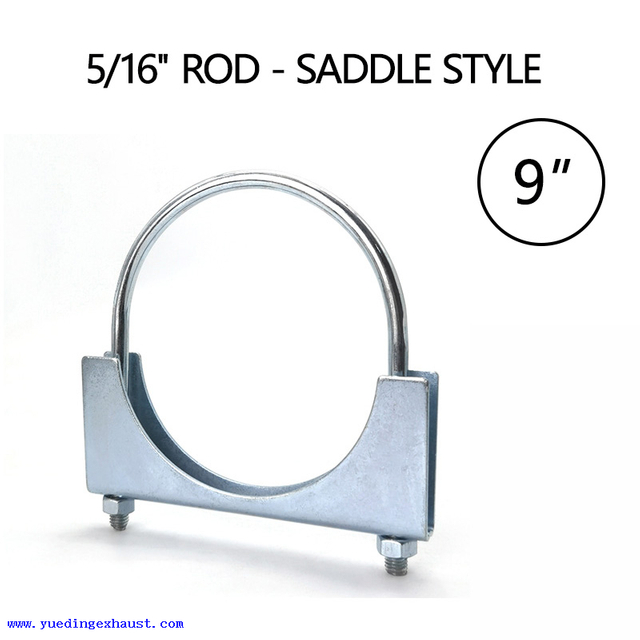
Mastering U-Bolt Clamps for Traditional Exhaust Pipes
U-bolt clamps are a classic, cost-effective solution for securing standard exhaust pipes. They are widely available and effective for many common vehicle types.
Balancing Tension During Installation
When installing U-bolt clamps, precision is key. Position the clamp around the aligned exhaust pipes and tighten the bolts evenly on each side. Using a socket wrench helps you ensure each side is equally tight, which results in a balanced fit.
Avoiding Pipe Distortion from Over-Tightening
A properly installed U-bolt clamp should feel firm but not overly tight. Over-tightening is a common mistake that can warp the exhaust pipes or even damage the clamp itself. This method is also effective for other high-pressure needs, such as securing E85 fuel line connections where a reliable seal is vital.
Post-Installation Maintenance
Vibrations from driving can sometimes loosen hardware. It is important to regularly check the clamps after installation, especially after your first few drives. Re-torquing the bolts ensures the exhaust pipes remain secure over the long term.
Note: U-bolt clamps often "crush" the pipe slightly to create a seal, which can make it difficult to separate the exhaust pipes later without cutting.
Utilizing Band Sleeve Clamps for Versatile Connections
Band sleeve clamps offer a reliable and robust solution for exhaust pipe connections. They are highly versatile and accommodate various pipe diameters.
The Advantages of No-Weld Sleeve Technology
The main advantage of band sleeve clamps is their ability to provide a secure connection without the need for welding or extensive modifications to the exhaust pipes. They create a strong, leak-proof seal without damaging the pipes, unlike U-bolts which may cause warping.
Sliding and Securing the Sleeve
To install, slide the clamp over one end of the exhaust pipes to be joined. Once you have positioned it over the joint, tighten the clamp evenly. This technology is particularly useful for its strength and ability to be used on different pipe materials.
Clamp Type | Best Use Case | Benefit |
U-Bolt | Standard/Budget repairs | Cost-effective |
Band Sleeve | Overlapping joints | Non-destructive |
Tip: Use band sleeve clamps for butt-joint connections where two exhaust pipes of the same diameter meet end-to-end.
High-Performance Solutions with V-Band Clamps
V-band clamps are the professional choice for high-performance exhaust systems. They are specifically designed to handle extreme conditions.
Flange Alignment for High-Stress Loads
Start by placing the V-band clamp around the exhaust pipes. You must ensure the flanges on the pipe ends are properly aligned for a secure fit. Their robust design makes them perfect for vehicles undergoing high stress, such as racing or off-roading.
Rapid Disassembly and Reassembly
Tightening a V-band clamp is a simple process. Turn the bolt until the clamp secures the exhaust pipes firmly while avoiding distortion. Because they use a single-bolt mechanism, they allow for much faster maintenance and disassembly compared to traditional multi-bolt systems.
Note: V-band clamps require matching flanges to be welded onto the exhaust pipes before the clamp can be used.
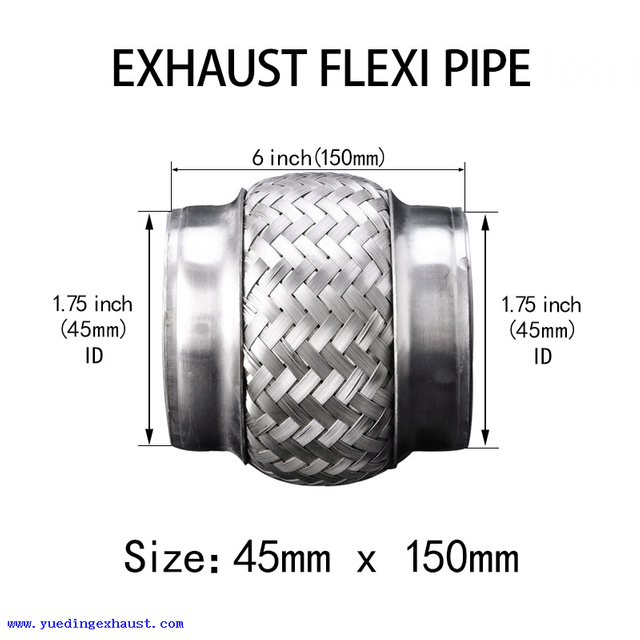
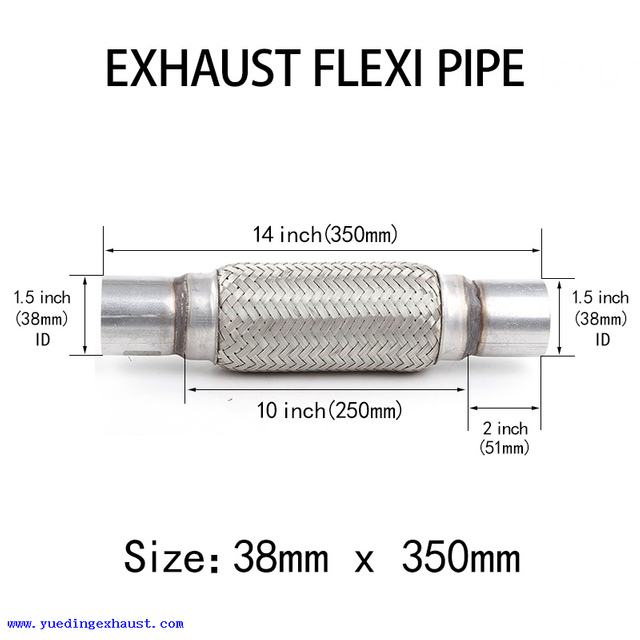
Integrating Flexible Braided Pipes into the System
Flexible braided pipes are an excellent choice for areas needing extra flexibility within the exhaust system. They shine in situations where rigid connections might fail due to environmental stress.
Absorbing Vibrations and Movement
They absorb engine vibrations and slight movements, making them perfect for complex exhaust setups. Think about parts of the exhaust pipe system that experience high heat expansion or constant engine torque.
Clamping Techniques for Flexible Materials
Installation is straightforward. Align the braided pipe with the exhaust pipe sections you are connecting to ensure a snug fit. It is crucial to secure these connections with clamps. Ensure they are tight enough to hold, but do not tighten them so much that they compress the delicate braided material excessively.
Tip: Place flexible braided exhaust pipes near the engine manifold to prevent header cracks caused by engine movement.
Replacing Mufflers and Components Using Clamps
You can successfully replace a muffler without a welder by using the right clamping strategy. This process makes component replacement accessible for those with basic hand tools.
Removing the Old Muffler Unit
The replacement starts with removing the old unit. Disconnect the exhaust pipes and unbolt the muffler from its rubber mounts and hangers. Ensure you have enough clearance to slide the pipes apart.
Positioning and Clamping the New Muffler
Position the new muffler and ensure it aligns correctly with the existing exhaust pipes. Use high-quality clamps to secure the muffler to the pipes. Tighten them evenly to ensure a secure, leak-free fit. Always perform a final leak test after the vehicle is lowered.
Note: Check that the new muffler is properly supported by hangers before tightening the clamps to avoid putting undue stress on the exhaust pipe joints.
Conclusion
Properly clamping exhaust pipes is essential for vehicle safety and peak performance. Using the right tools ensures a secure, leak-free fit for your system. High-quality solutions from yuedingexhaust provide superior durability and precise alignment for every repair. Our professional-grade clamps prevent dangerous leaks and extend the overall life of your vehicle. Trust yuedingexhaust to deliver the reliability and efficiency your exhaust system deserves.
FAQS
Q: Why is it important to secure exhaust pipes effectively?
A: Proper clamping maintains vehicle performance, ensures safety, and prevents dangerous gas leaks.
Q: Can I replace a muffler on exhaust pipes without welding?
A: Yes, you can use specific clamps and sealant to create a secure, leak-free connection manually.
Q: How do I choose the right clamp for high-performance exhaust pipes?
A: V-band clamps are ideal for high-stress conditions like racing because they handle extreme heat and pressure.
Q: What is the best way to prevent leaks in exhaust pipes?
A: Clean the surfaces thoroughly and apply a high-quality sealant before tightening your chosen clamp.


About Yueding
YUEDING manufactures stainless steel exhaust flexible connectors, clamps, metal bellows, and selected automotive exhaust components under ISO and IATF quality systems. With in-house production, inspection, and packaging capabilities, we support bulk orders, standard-size inventory, and customized branding for global B2B customers.
Reliable Delivery
Stable production planning, standard-size inventory, and batch shipping support help make delivery more predictable.

Factory Direct
Production, inspection, and packaging are managed in-house, making communication, quality control, and customization more efficient.

Integrated Supply
We supply flex pipes, clamps, metal bellows, and selected exhaust components to support related purchasing needs from one manufacturer.

